English
 русский
 Deutsch
Industry News

+86-576-85198260
Welcome to Linhai Jingda Arts & Crafts Co., Ltd.
Welcome to Linhai Jingda Arts & Crafts Co., Ltd.
Nov 28, 2025
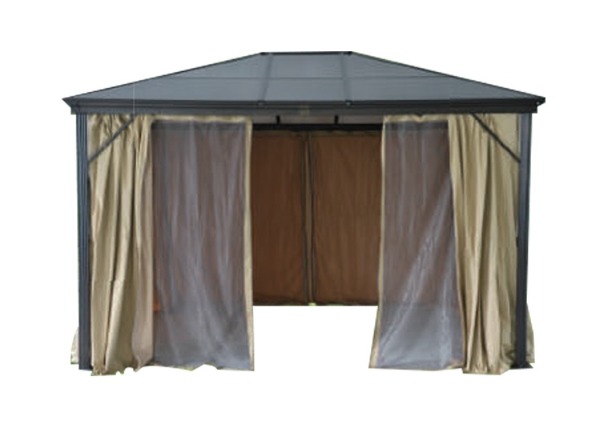
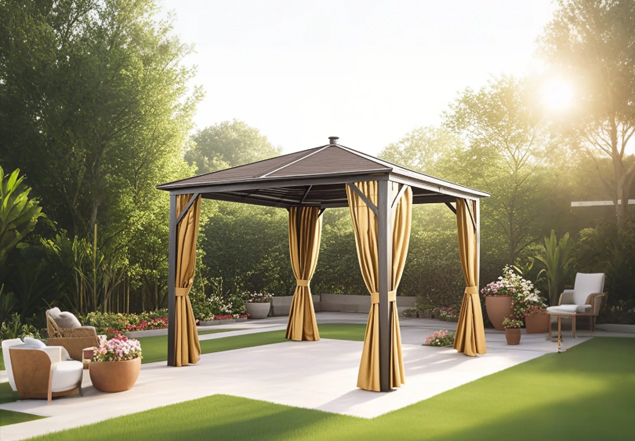
A Hard Top Gazebo can transform your outdoor space, providing a stylish and functional area for relaxation and entertainment. While a wrought iron gazebo with a hard top offers great durability and protection from the elements, setting it up properly is key to ensuring that it functions ideally and stands the test of time.
Step 1: Choose the Right Location
Before you start assembling your Hard Top Gazebo, it’s important to choose the right location. Consider the following factors when selecting a spot:
Flat Surface: Choose a flat, level area to ensure that the gazebo stands evenly. A slope or uneven ground can cause to instability and potential damage.
Clear of Obstacles: Ensure the area is free from trees, branches, or other obstacles that could interfere with the structure. This will also help prevent debris from accumulating on the roof.
Step 2: Prepare Your Tools and Materials
Before you begin assembling your Wrought Iron Gazebo, make sure you have all the necessary tools and materials. While specific requirements may vary depending on the model, here’s a general list of items you will likely need:
Wrenches or Socket Set: To tighten bolts and screws.
Screwdrivers: For smaller components and finer adjustments.
Rubber Mallet: To help fit parts together without causing damage.
Drill: If you need to secure the gazebo to a foundation, such as a wooden deck or concrete patio.
Measuring Tape: To ensure that everything is aligned properly.
Level: To check that the gazebo is sitting evenly.
Having these tools ready will make the assembly process smoother and faster.
Step 3: Assemble the Frame
The initial step in setting up your Hard Top Gazebo is to assemble the frame. Start by laying out the frame pieces in the order indicated by the instructions. Make sure each part is clearly identified before you begin attaching them together.
Attach the Legs: Begin by securing the legs to the base frame. more gazebos come with pre-drilled holes for easy assembly.
Add the Crossbars: Once the legs are in place, attach the crossbars or support beams to provide additional stability.
Check for Alignment: As you assemble the frame, use your level to ensure that everything is properly aligned.
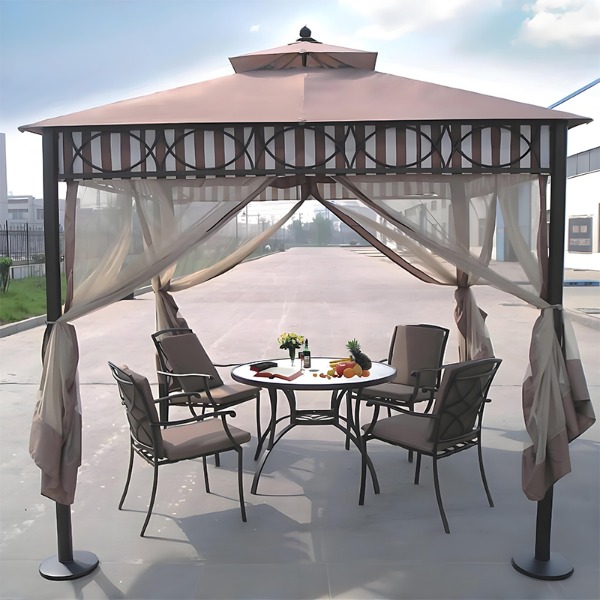
Step 4: Install the Roof Panels
The next step is to install the roof panels. The Hard Top Gazebo typically has pre-cut roof panels that are designed to fit into the frame.
Start from One Side: Begin installing the roof panels on one side of the gazebo, and work your way across. Make sure each panel is securely fastened to the frame to prevent it from shifting or coming loose.
Check for Gaps: Once all the panels are in place, check for any gaps or misalignments. If you notice any, adjust the panels or tighten the screws to ensure a snug fit.
Step 5: Final Touches
Once the structure is assembled and securely anchored, take a step back and inspect the entire gazebo. Ensure that all bolts and screws are tightened, and check the roof for any loose panels. You can also add any finishing touches to make your gazebo more functional:
Add Curtains or Netting: For added privacy or protection from insects, consider adding curtains or mosquito netting around the perimeter of the gazebo.
Furnish the Space: Once the gazebo is fully set up, furnish the interior with outdoor furniture, lighting, or decorative elements to create a comfortable and inviting outdoor retreat.
Apply Protective Coatings: For extra protection, you can apply a weatherproof coating to the Wrought Iron Gazebo frame or the roof to protect it from rust, fading, or water damage.
Your email address will not be published. Required fields are marked *
Copright © Linhai Jingda Arts & Crafts Co., Ltd. All Rights Reserved.

Custom Outdoor Leisure Patio Furniture Products